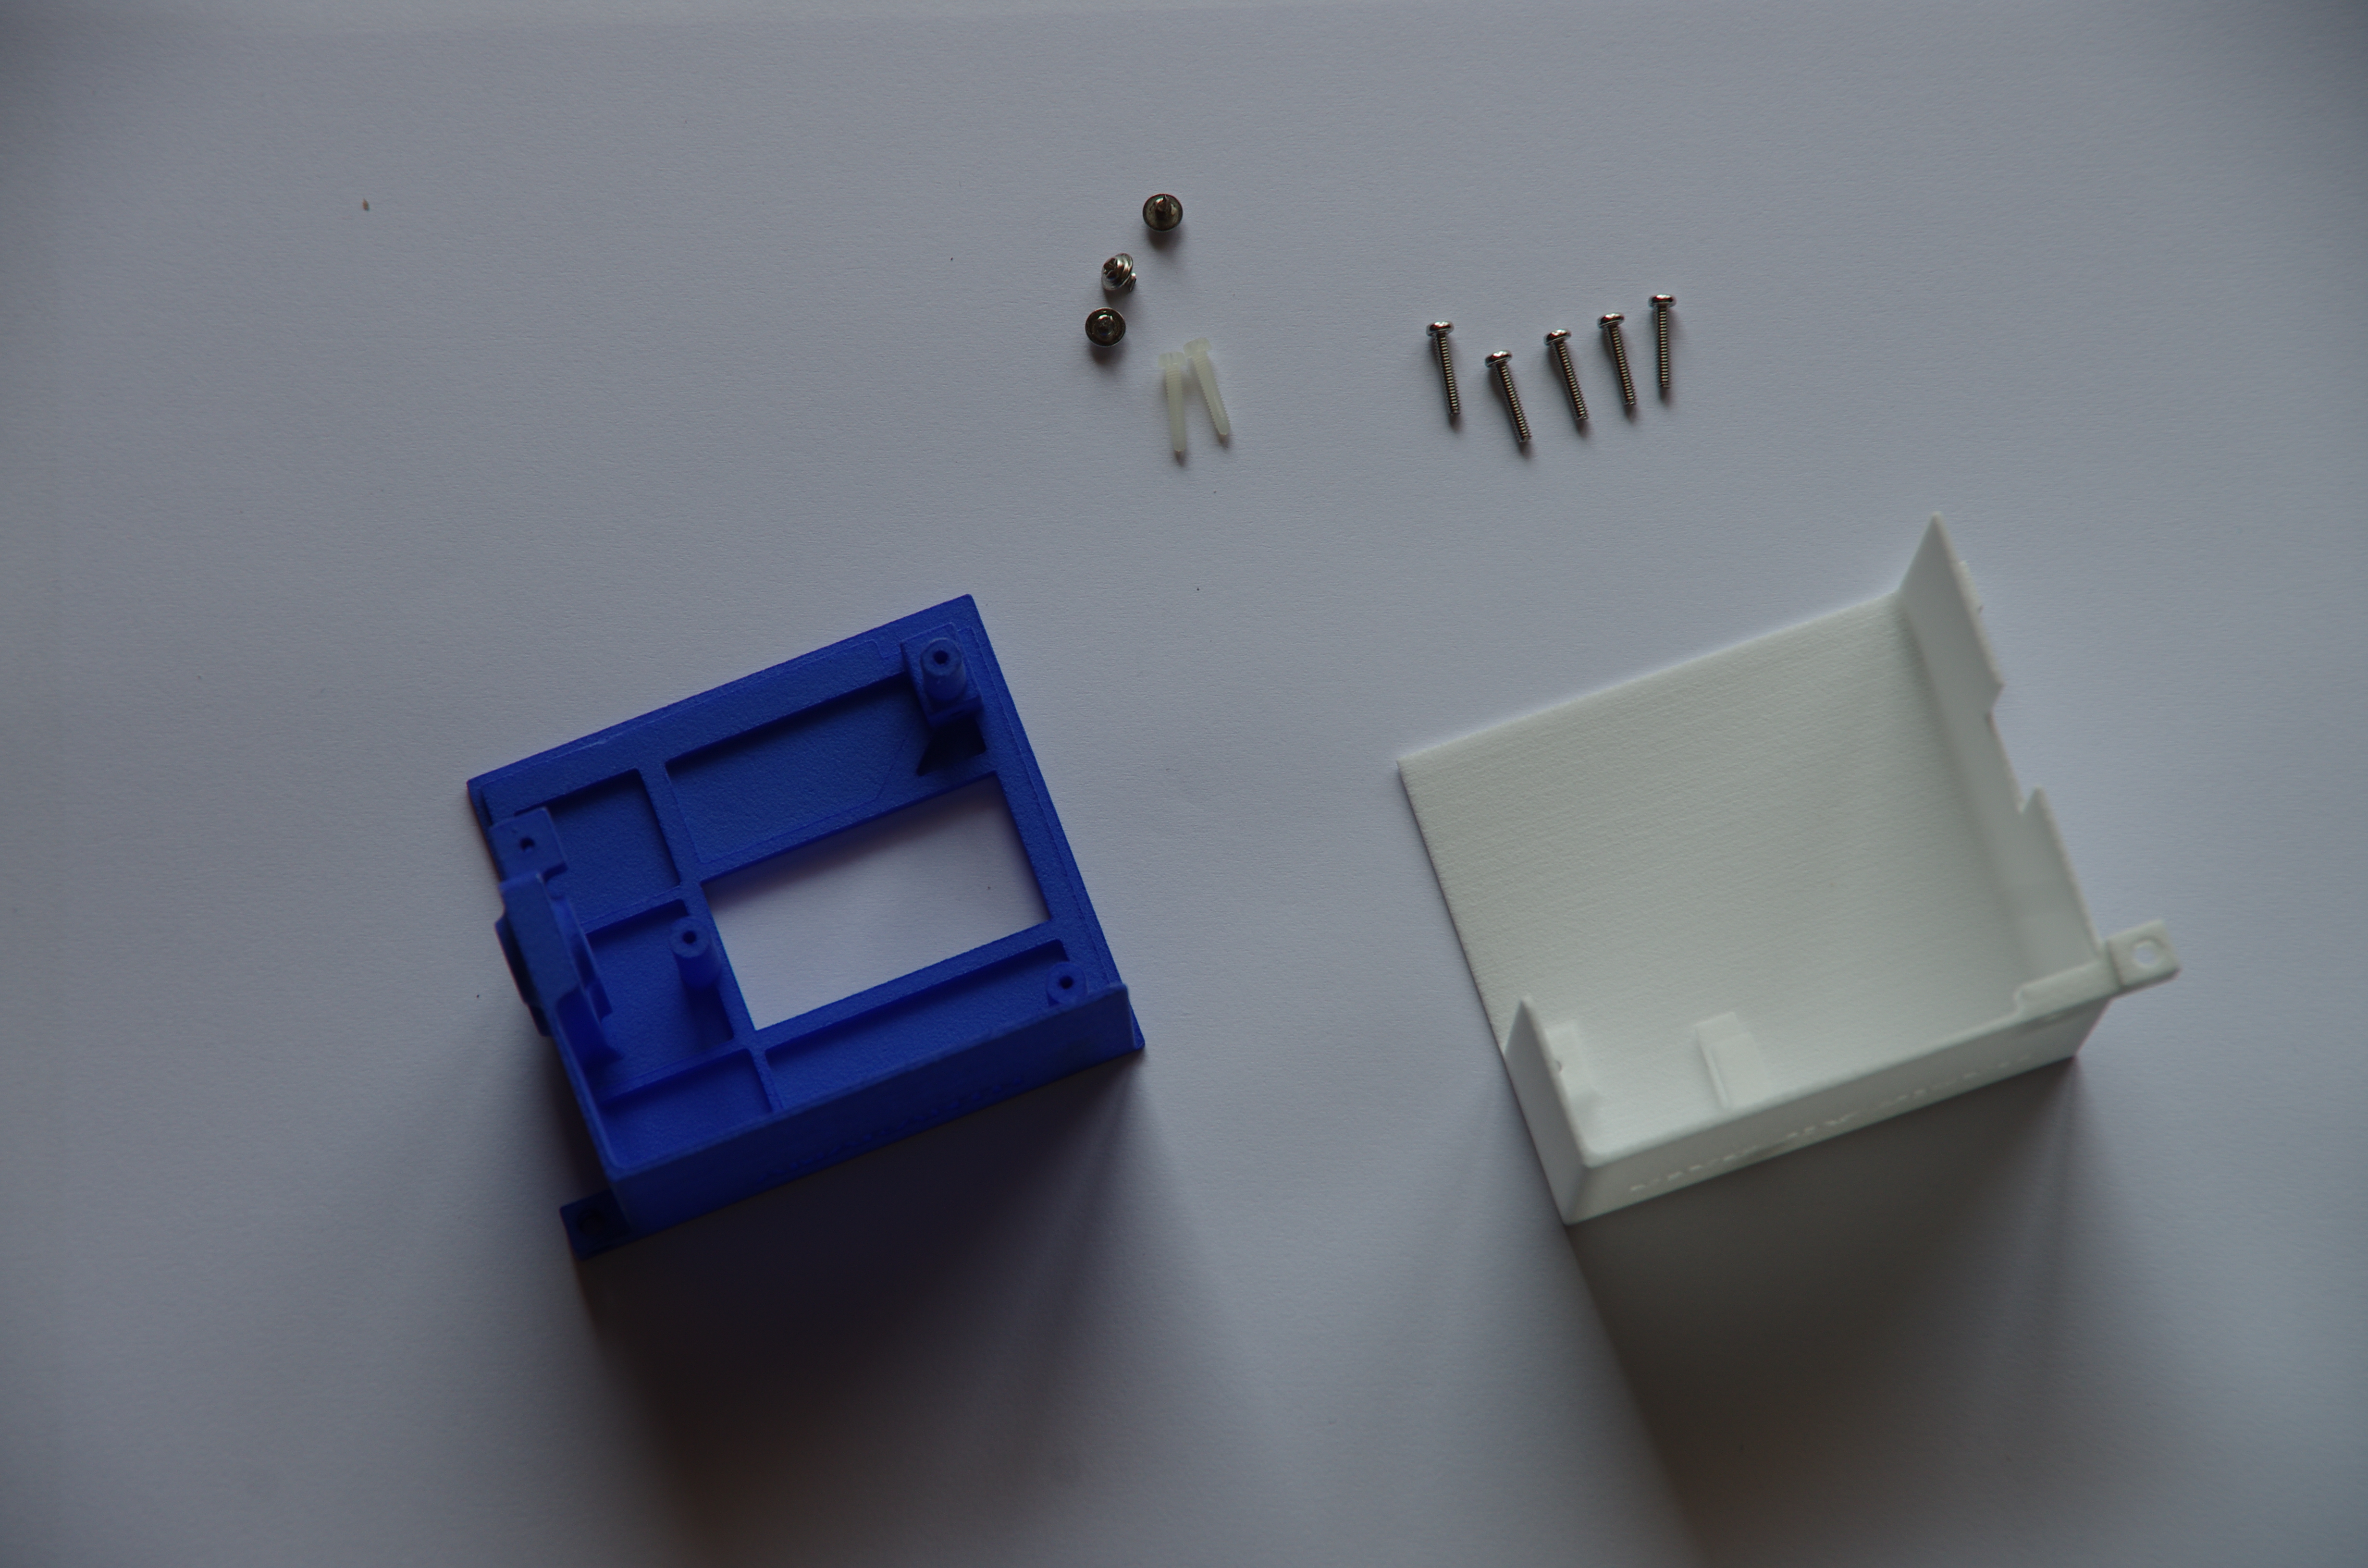
Amaranth i2 Case, nipples and fasteners. Standard 5xM2 fasteners are shown on the right. Alternatives plastic and flanged screws are shown on the left
3D Case assembly procedure for ADC Amaranth i2. Prior to proceed through this tutorial, please be sure to have all the components reported here.
The case is an optional component of the ADC. If your application requires minimum weight and dimensions you can just use your ADC PCB wrapped inside a shrinkable plastic tube. The case is basically designed to contain in a practical way you electronics and pneumatic connections; the microcontroller pins are exposed so you can experiment/expand your hardware capabilities with the maximum comfort. On the thick wall of the container, there is a support to all the pneumatic connections. The pneumatic T joint necessary to connect the differential pressure sensor low port and the absolute pressure sensor is integrated within the case walls.
The two main components are 3D printed however some operations are necessary to prepare this parts to assembly. If you use a power tool follow the security direction by the producer.
1.Trim the pressure ports nipples – Item 7 –
At the end of this phase, you will have three 8 mm long nipples.
Hold a 2 mm pipe (or a syringe needle) with a vice. Mark the 8 mm length with a pen, or with adhesive tape, and then proceed to cut with the cut disc.
2.Deburr the nipples
Take a small piece of sandpaper, let’s say 100x100mm, and, with the adhesive tape, fix it firmly to your working plane. Now take one nipple and rub the edges of both the free sides. When the edges are smooth your are done. Repeat for all the three nipples.
3.Clean carefully the 3D printed parts -Item 6,14-
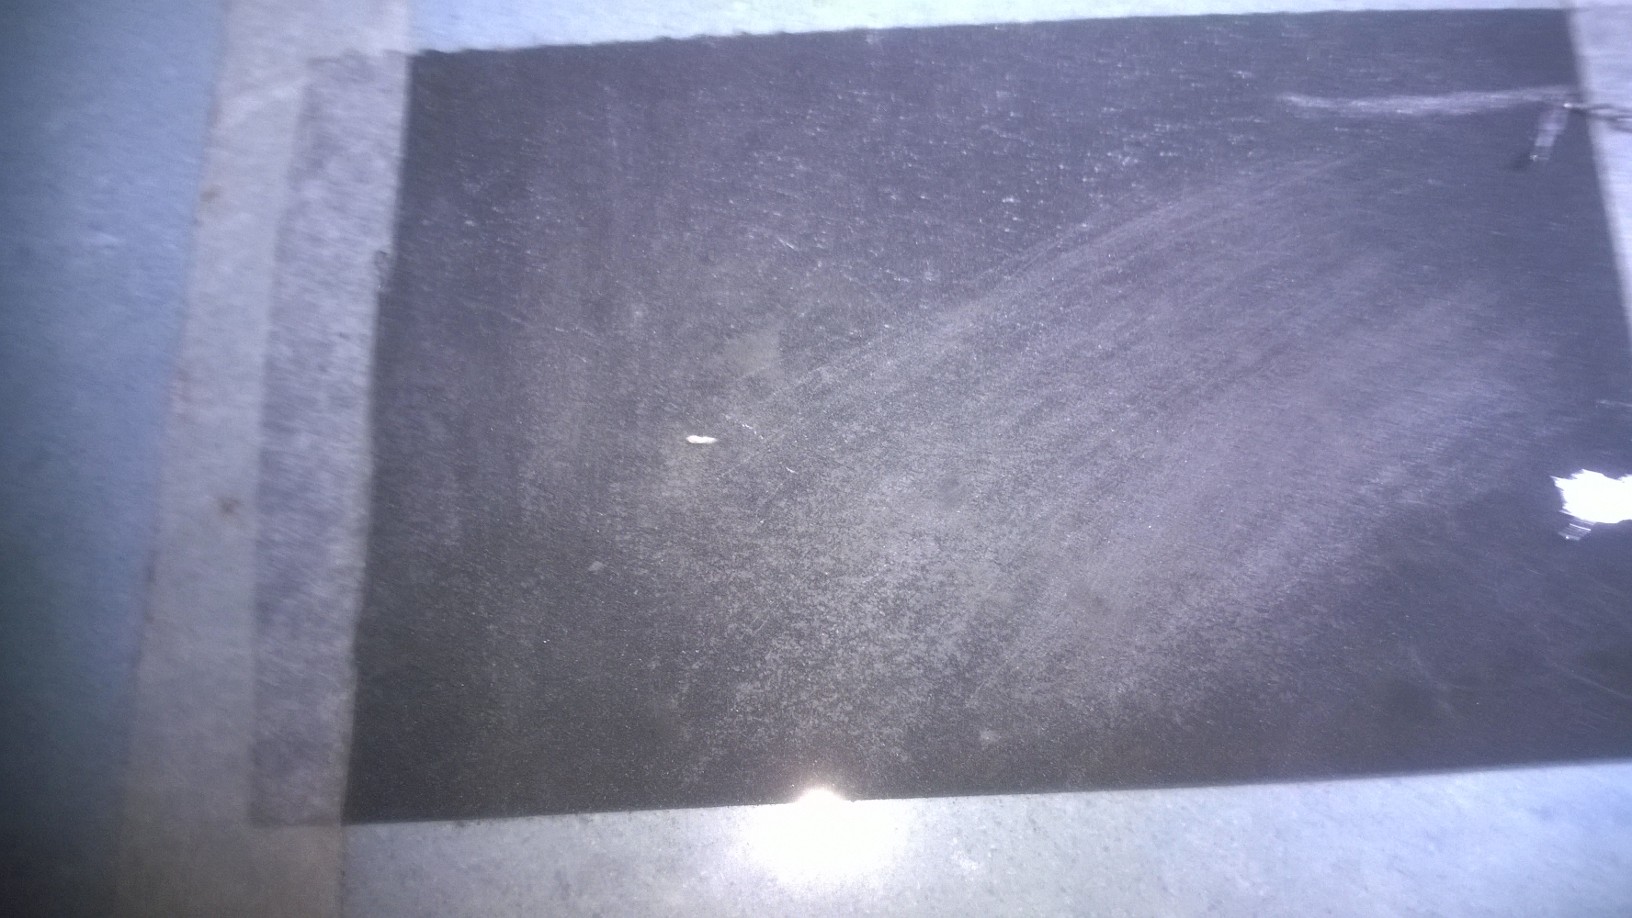
Sandpaper used to deburr the nipples
With a paper clip clean all the holes on the CASE Front – 201 and CASE Back – 203. Test if the nipples can smoothly slide inside the nipple holes on Item 6. To obtain a loose engagement you can insert back and forth a piece of 2 mm pipe (or a syringe needle tip) within the holes. If a smooth coupling is not achieved you should use a 2 mm drill bit to enlarge by hand the holes. Clean all the other holes present into the parts.
4.Prepare the M2X0.4mm threads on the case front part
Use the Tap tool for M2x0.4 on the five holes present on the case. You don’t need to drill the holes, the printed parts should be already ready. Don’t use any lubricant for threading. With the help of an M2 screw test every fillet prior to proceeding. Note that the two threads that are used for the two screws that close the case should be full bore, passing from side to side. You can use self-tapping screw on the PCB support pillars, in this case, it is not needed at all to thread the holes.
5.Prepare the M5X0.8mm threads on the case front part
Thread the two four mm holes that will carry the push in fittings. Clean all the internal parts from debris.
Gluing the nipples
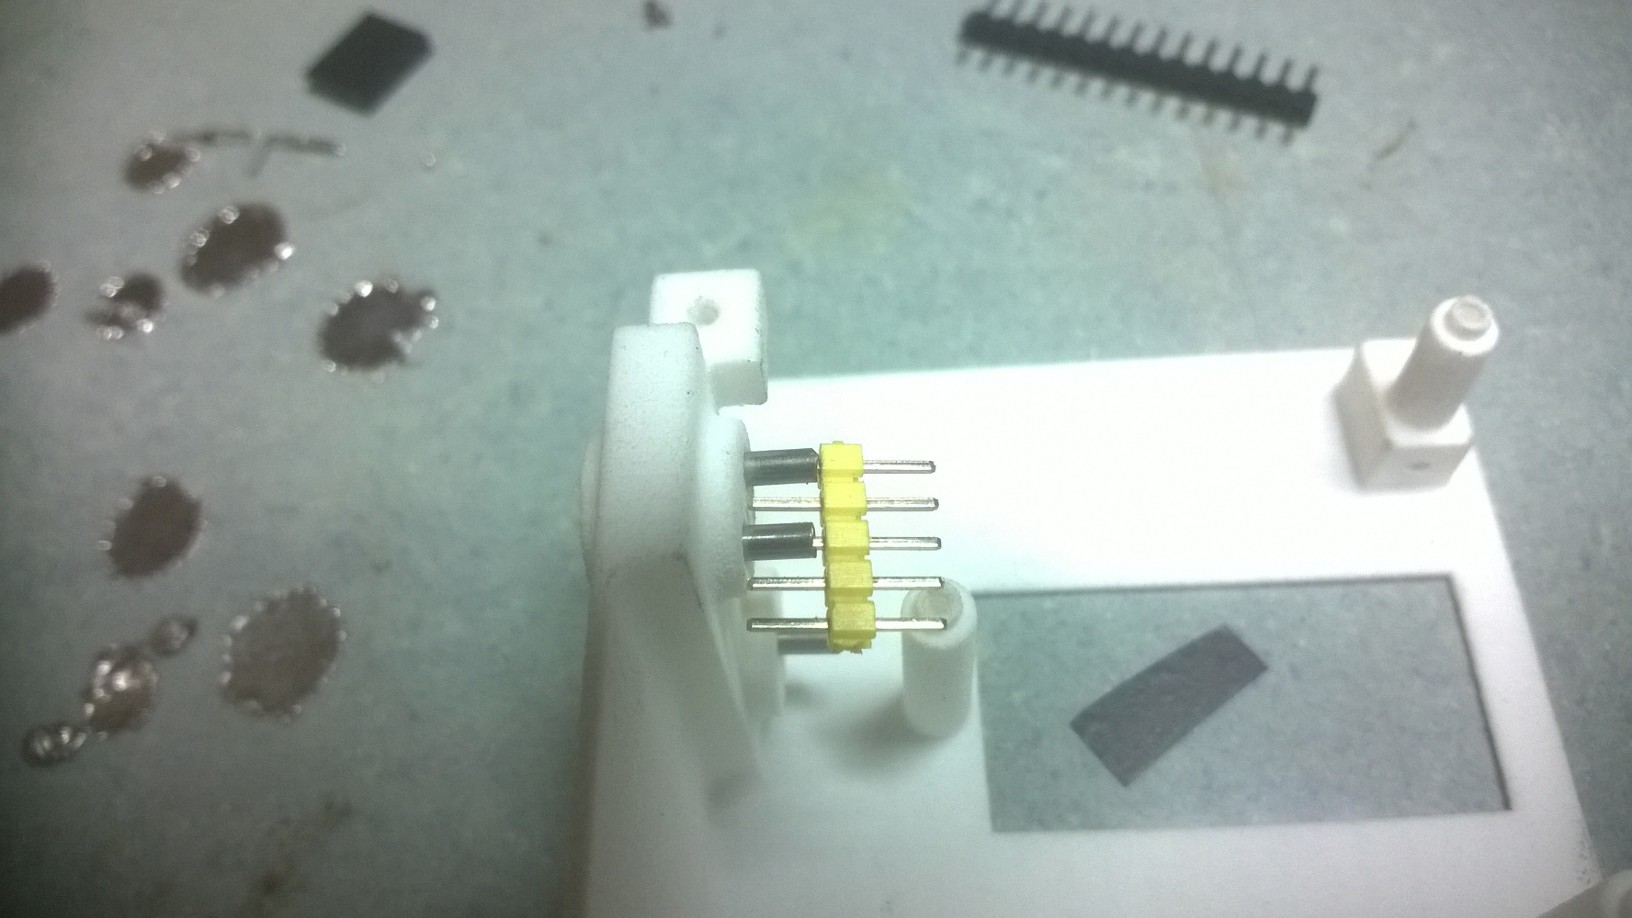
6.Glue the nipples to the ADC Case
Now prepare the resin as per producer instructions. With a tooth stick or similar put a ring of glue over the nipple, abo
Cut in the middle, and then insert it into the hole. Rotate the nipple inside the hole. Repeat for all the three nipples. To ensure that all the three nipples protrude with the same length from the case you need to use a tool. To achieve that you can use a straight breakaway header (4 pins or so). If you push the pins inside the nipples than the distance from the case wall will be forced to be the same distance that we have between the pin plastic spacer and the case wall. Leave the part to rest on the table with the nipples pointing to the ceiling. Wait until the resin is cured.
7.Fit the push in fittings – Item 2 –
Put in place the two push in fitting. Hand tight is often sufficient.
8.Test airtightness
Push a short pipe into the “-” push in fitting. Push a silicone tube jumper between the two nipples on the “-” port. Blow slowly into the 4 mm tube. You should not be able to produce a leak. On the “+” port you don’t need to put a silicone tube on the nipple, just block it with the finger when you are blowing. If you individuate a leak fix it.
9.Test coupling of the front part with the back part
Simply close the case and tighten the two screws with the screwdriver. Check if everything is closing all right.
Now your case is ready to enclose the PCB.