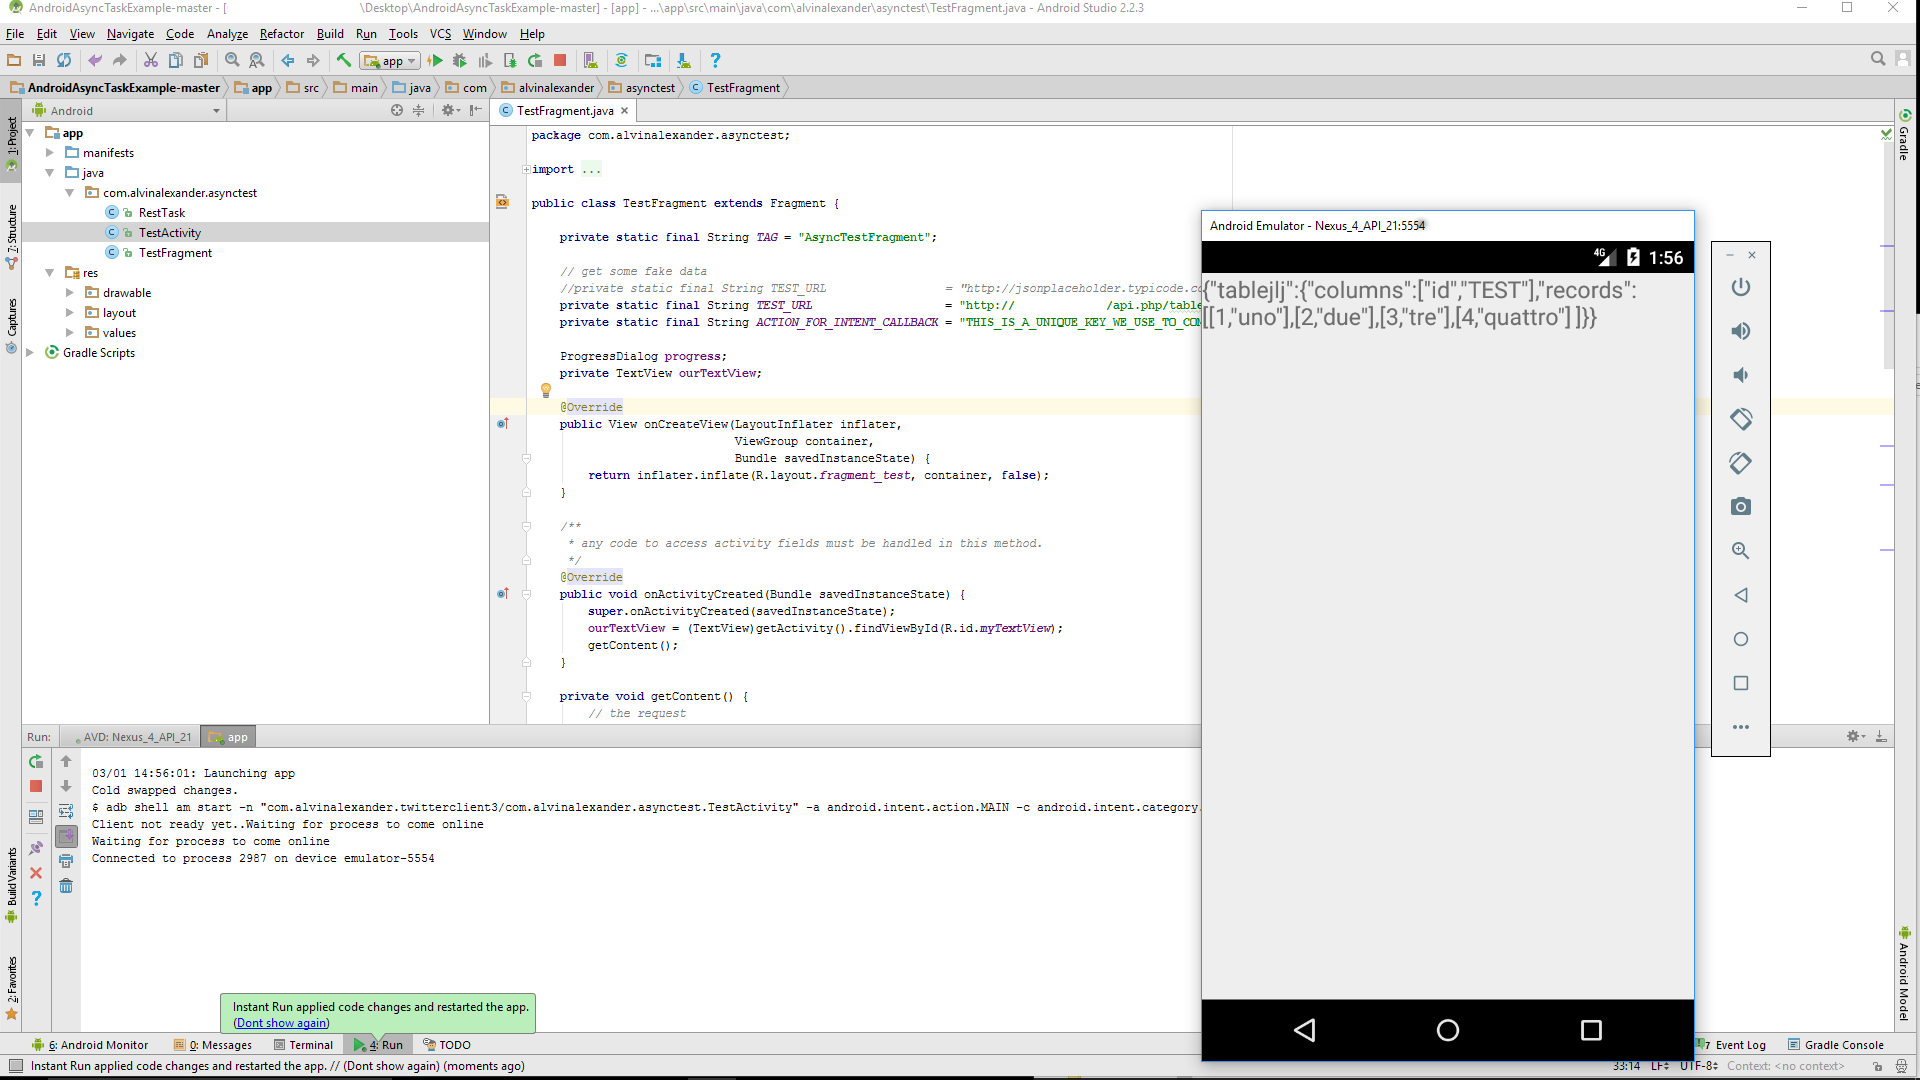
Figure 1 – Android REST client output
The proposed fast deployment solution was tested, in February 2017, on a Debian 7 Wheezy server with a dedicated IP and an Android Studio 2.2.3 generated Android client app. Send us feedback to our mailing list.
Now and then we are in need for a fast implementation of a CRUD web service, for example, to share data between heterogeneous digital systems. Here we walk through a minimum working solution that can be used on DIY setups and was used in different Basic Air Data experimental projects. In particular, we are willing to share data with an Android device. At the end of the intro, you will be able to put at work your own simple web service. One possible architectural style for web services is the Representational State Transfer or in short form RESTful. Beside theoretical considerations, we evidentiate the greater comfort of using a standard architectural style versus a custom made solution. The main motivation is the widespread availability of free documentation and open software. The second motivation is that if that we can benefit from the reuse of standardized API among different projects, in short, we don’t need to stick to a particular implementation. If needed, the server implementation can be eventually perfectioned, in a totally independent way, by specialized IT people. As our requirements specify to be able to exchange data between different systems and also to support different programming languages we picked up JSON format as our exchange format for data/objects.
Pragmatically our experimental system will be composed of a few subsystems.
- Server based database, HTTP server with PHP support
- Server side implementation of RESTful services, PHP script
- Client side database management software, MySQL Workbench 6.3
- Client Android Studio code, You should install Android Studio
It is to be noted that all the software shall work together so if you change one implementation, let’s say the database, you should probably change other software. Proposed fast deployment solution was tested with the cited software packages but can be easily changed to fit other needs. Even more in many cases, you will have many packages already installed in your system.
The first operation is to install a MySQL database on your server. You should follow the indication of this online tutorial. Note MySQL root password. Once the installation is completed you must check the database functionality connecting to it, follow this tutorial to access via a secure tunnel. Once the connection is established you will need some software to manage your database. Use your preferred software, I used the free MySQL Workbench. If you want you can run this command file schema.sql to create a simple, populated, database in your SQL installation. You can do it with Workbench, Open database -> File -> Open SQL Script and execute. Alternatively, from your server, you can run
# mysql < schema.sqlCheck for the existence of a new database named “BAD”.
Once everything is up and running it is time to install Apache server, that is fundamental to be able to run the PHP REST API that we will install afterward. To do so digit
# apt-get install apache2 apache2-doc apache2-utilsTo check if your Apache installation is alive browse to your machine IP (or https://localhost if is a local installation), you should see the “It works!” page.
You need PHP to run the proposed REST API so you install it with APT
# apt-get install php5-common libapache2-mod-php5 php5-cliWe are almost there. Now you install php-crud-api. This API is free and open, cheers for the developers!
Download the api.php file from Github project, open it with your favorite text editor and find and modify the following lines as follows (the installation procedure is described also on the main page of php-crud-api on GitHub).
$api = new PHP_CRUD_API(array(
'dbengine'=>'MySQL',
'hostname'=>'localhost',
'username'=>'root',
'password'=>'your DB root password',
'database'=>'BAD',
'charset'=>'utf8'
));
$api->executeCommand();
Now copy the edited file to your server Apache root folder, “\var\www”.
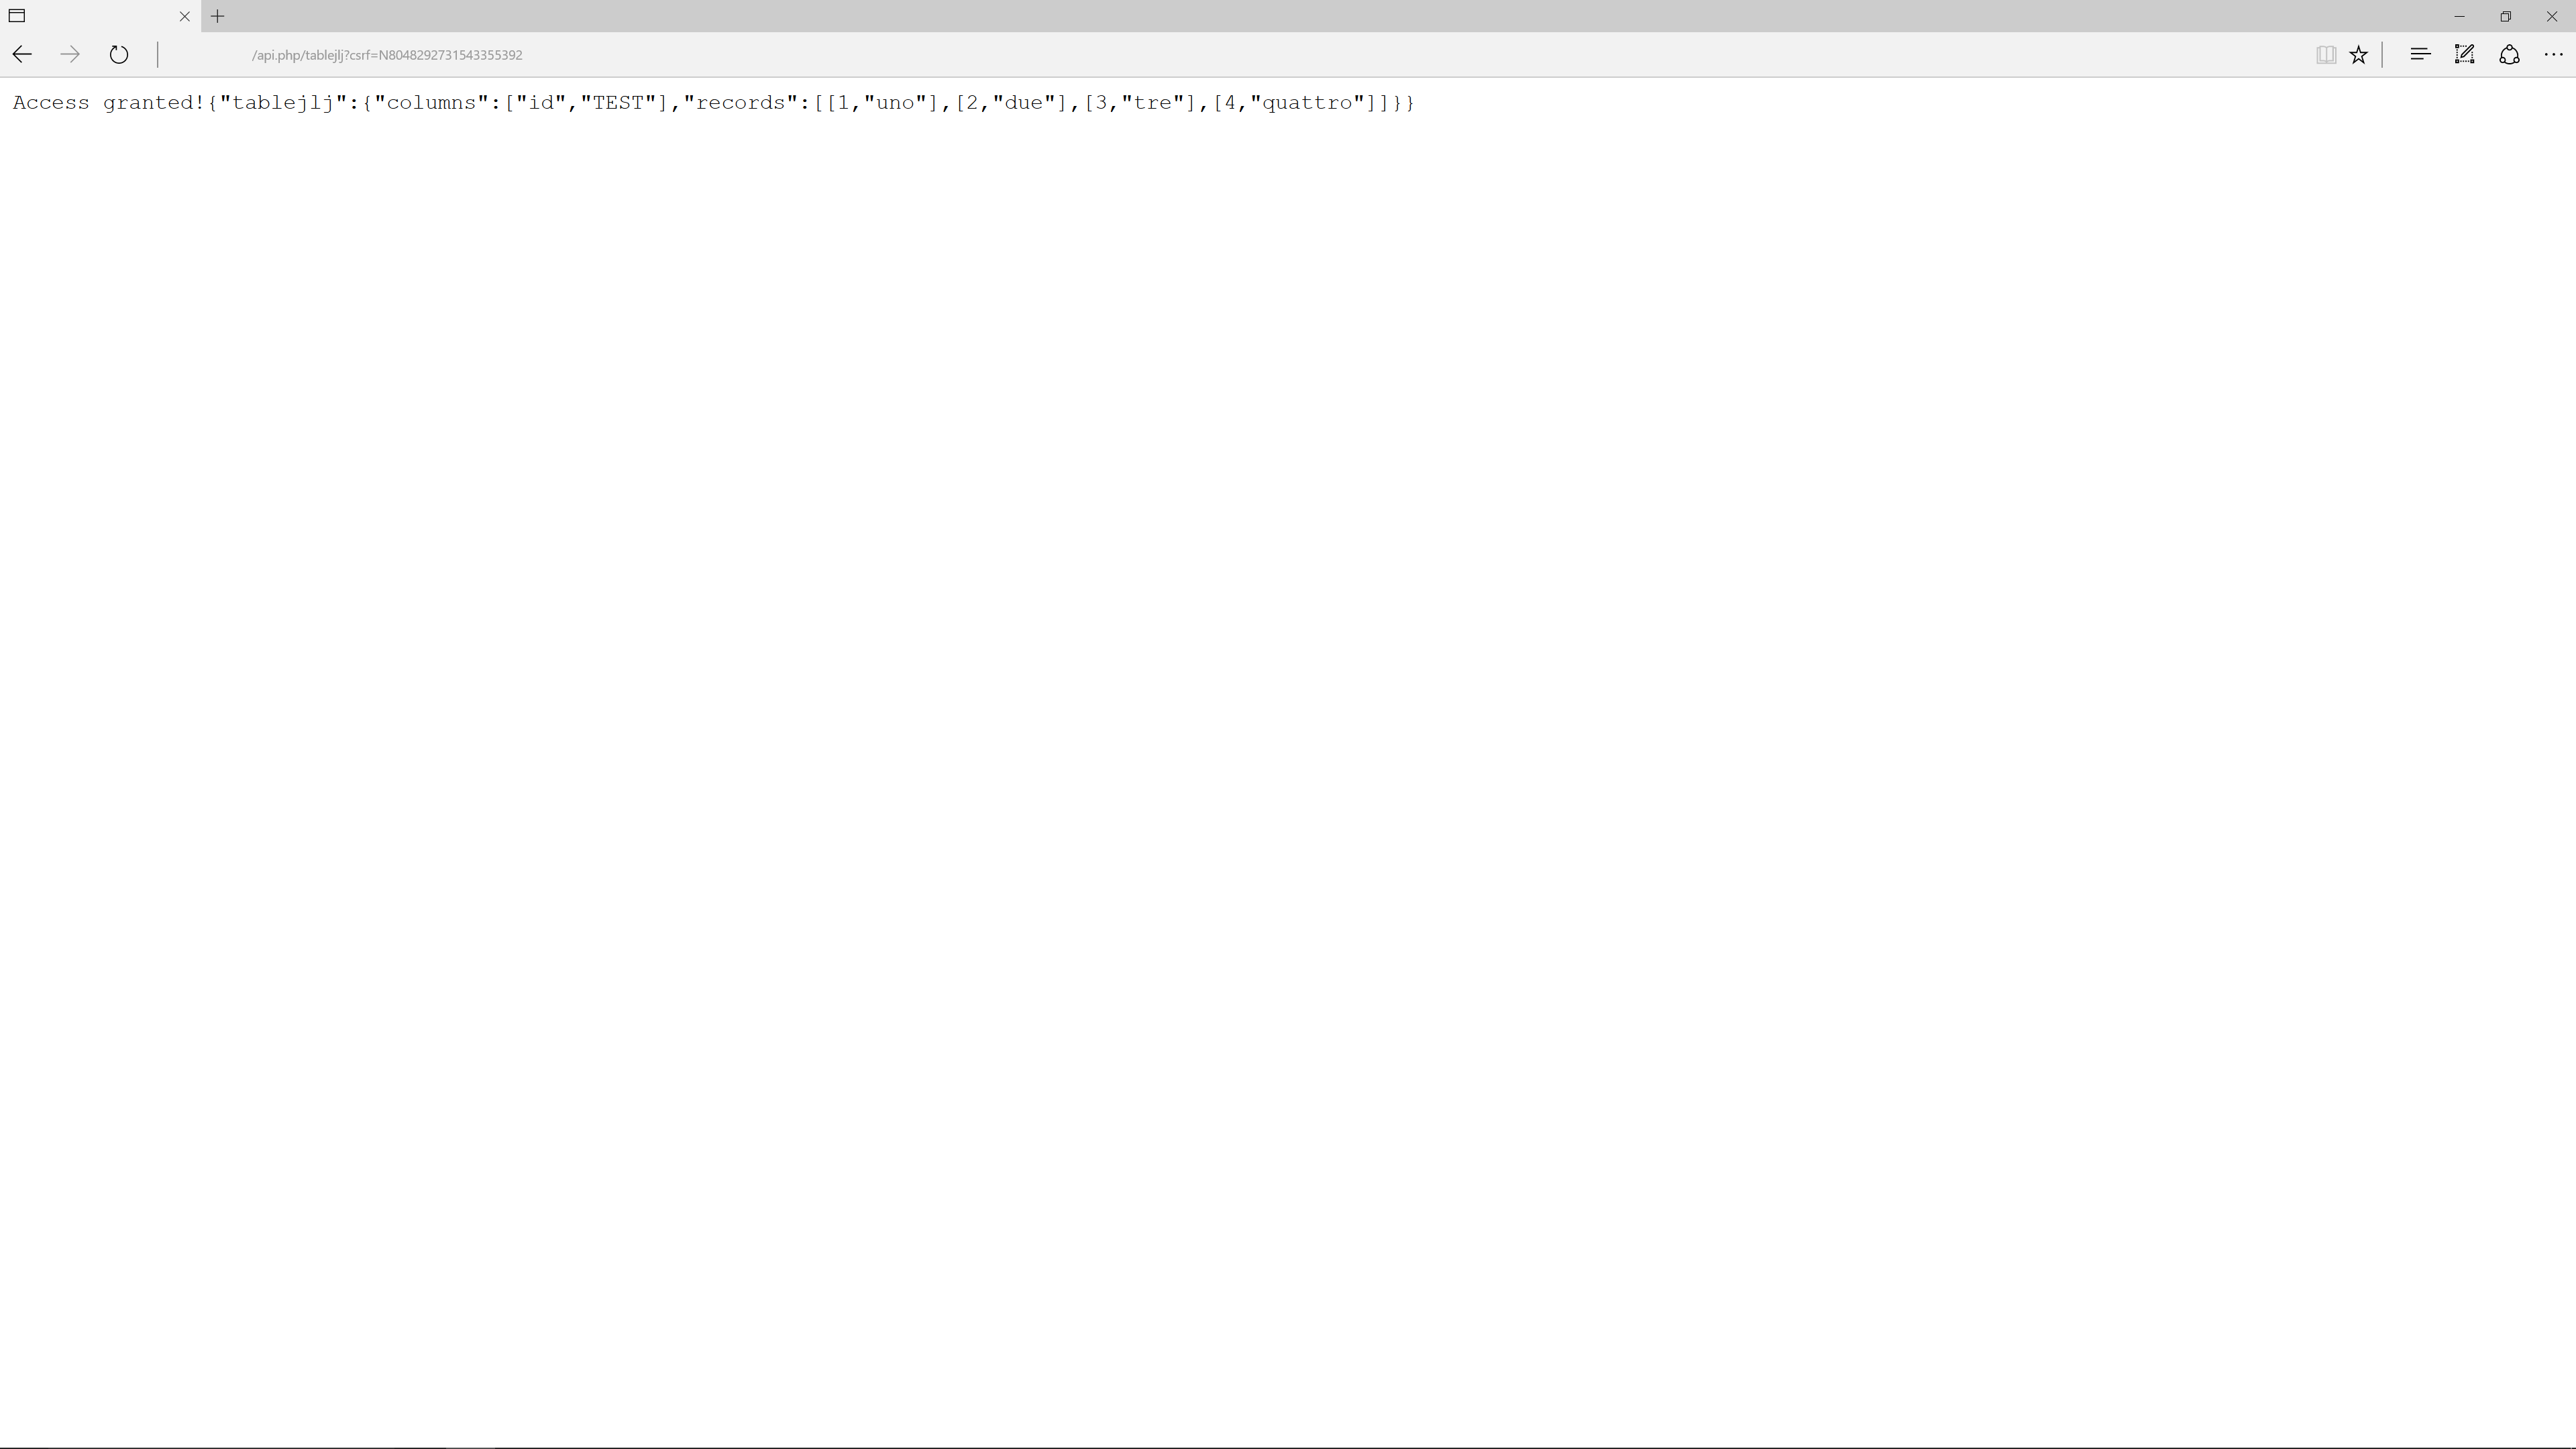
Browse to the link “https://localhost_or_your_host/api.php/tablejlj”. Your output should be the following.
{"tablejlj":{"columns":["id","TEST"],"records":[[1,"uno"],[2,"due"],[3,"tre"],[4,"quattro"]]}}That is a JSON formatted reply to a request for the table named “tablejlj” within BAD database in REST format “GET https://localhost_or_your_host/api.php/tablejlj” . In general REST need also need POST, PUT, and DELETE methods. To be able to generate such a commands it is handy to use an external application like this Advanced REST client based on Chrome. Now we are ready to test our first RESTful Android application.
You need to download another free and open GitHub project AndroidAsyncTaskExample, cheers to developers!. Download the whole project zip and decompress it on your PC. Now simply import the project into Android Studio. Browse to “TestFragment.java” then find and change this line.
private static final String TEST_URL ="https://localhost_or_your_host/api.php/tablejlj";Run the Android app and you will get this output on your phone screen
{"tablejlj":{"columns":["id","TEST"],"records":[[1,"uno"],[2,"due"],[3,"tre"],[4,"quattro"]]}}That is the output shown in Figure 1.
What’s next?
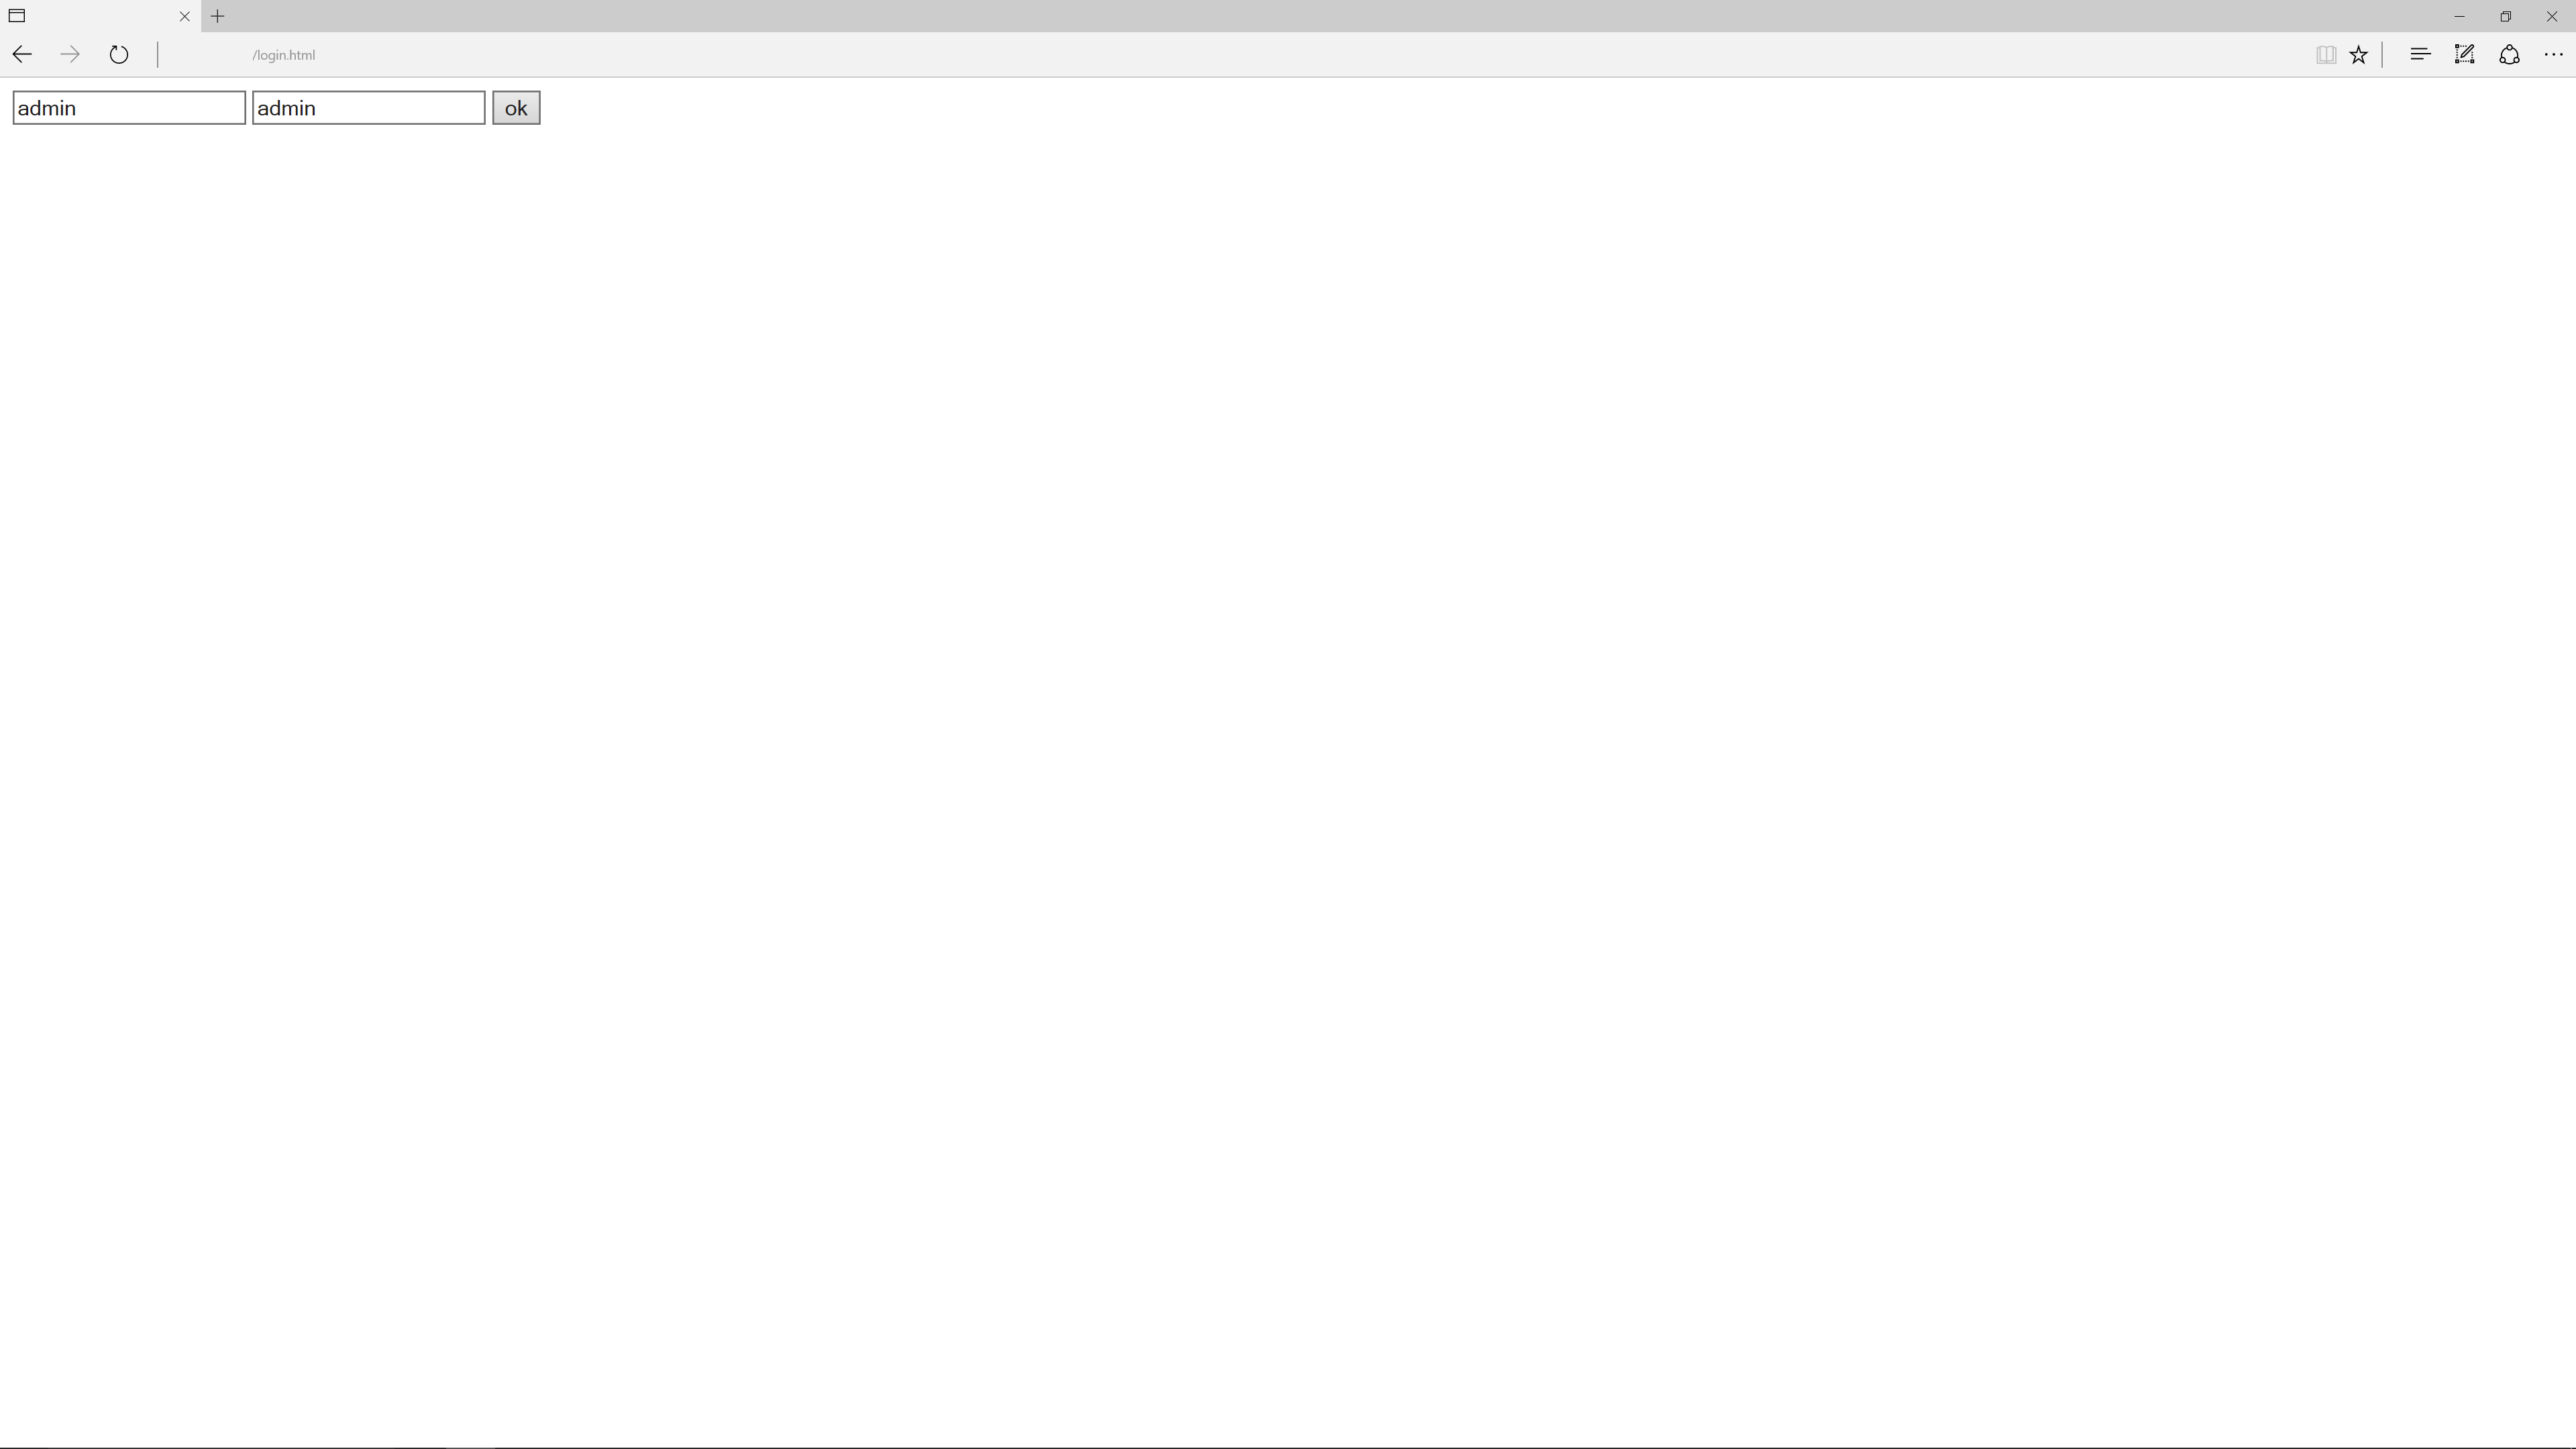
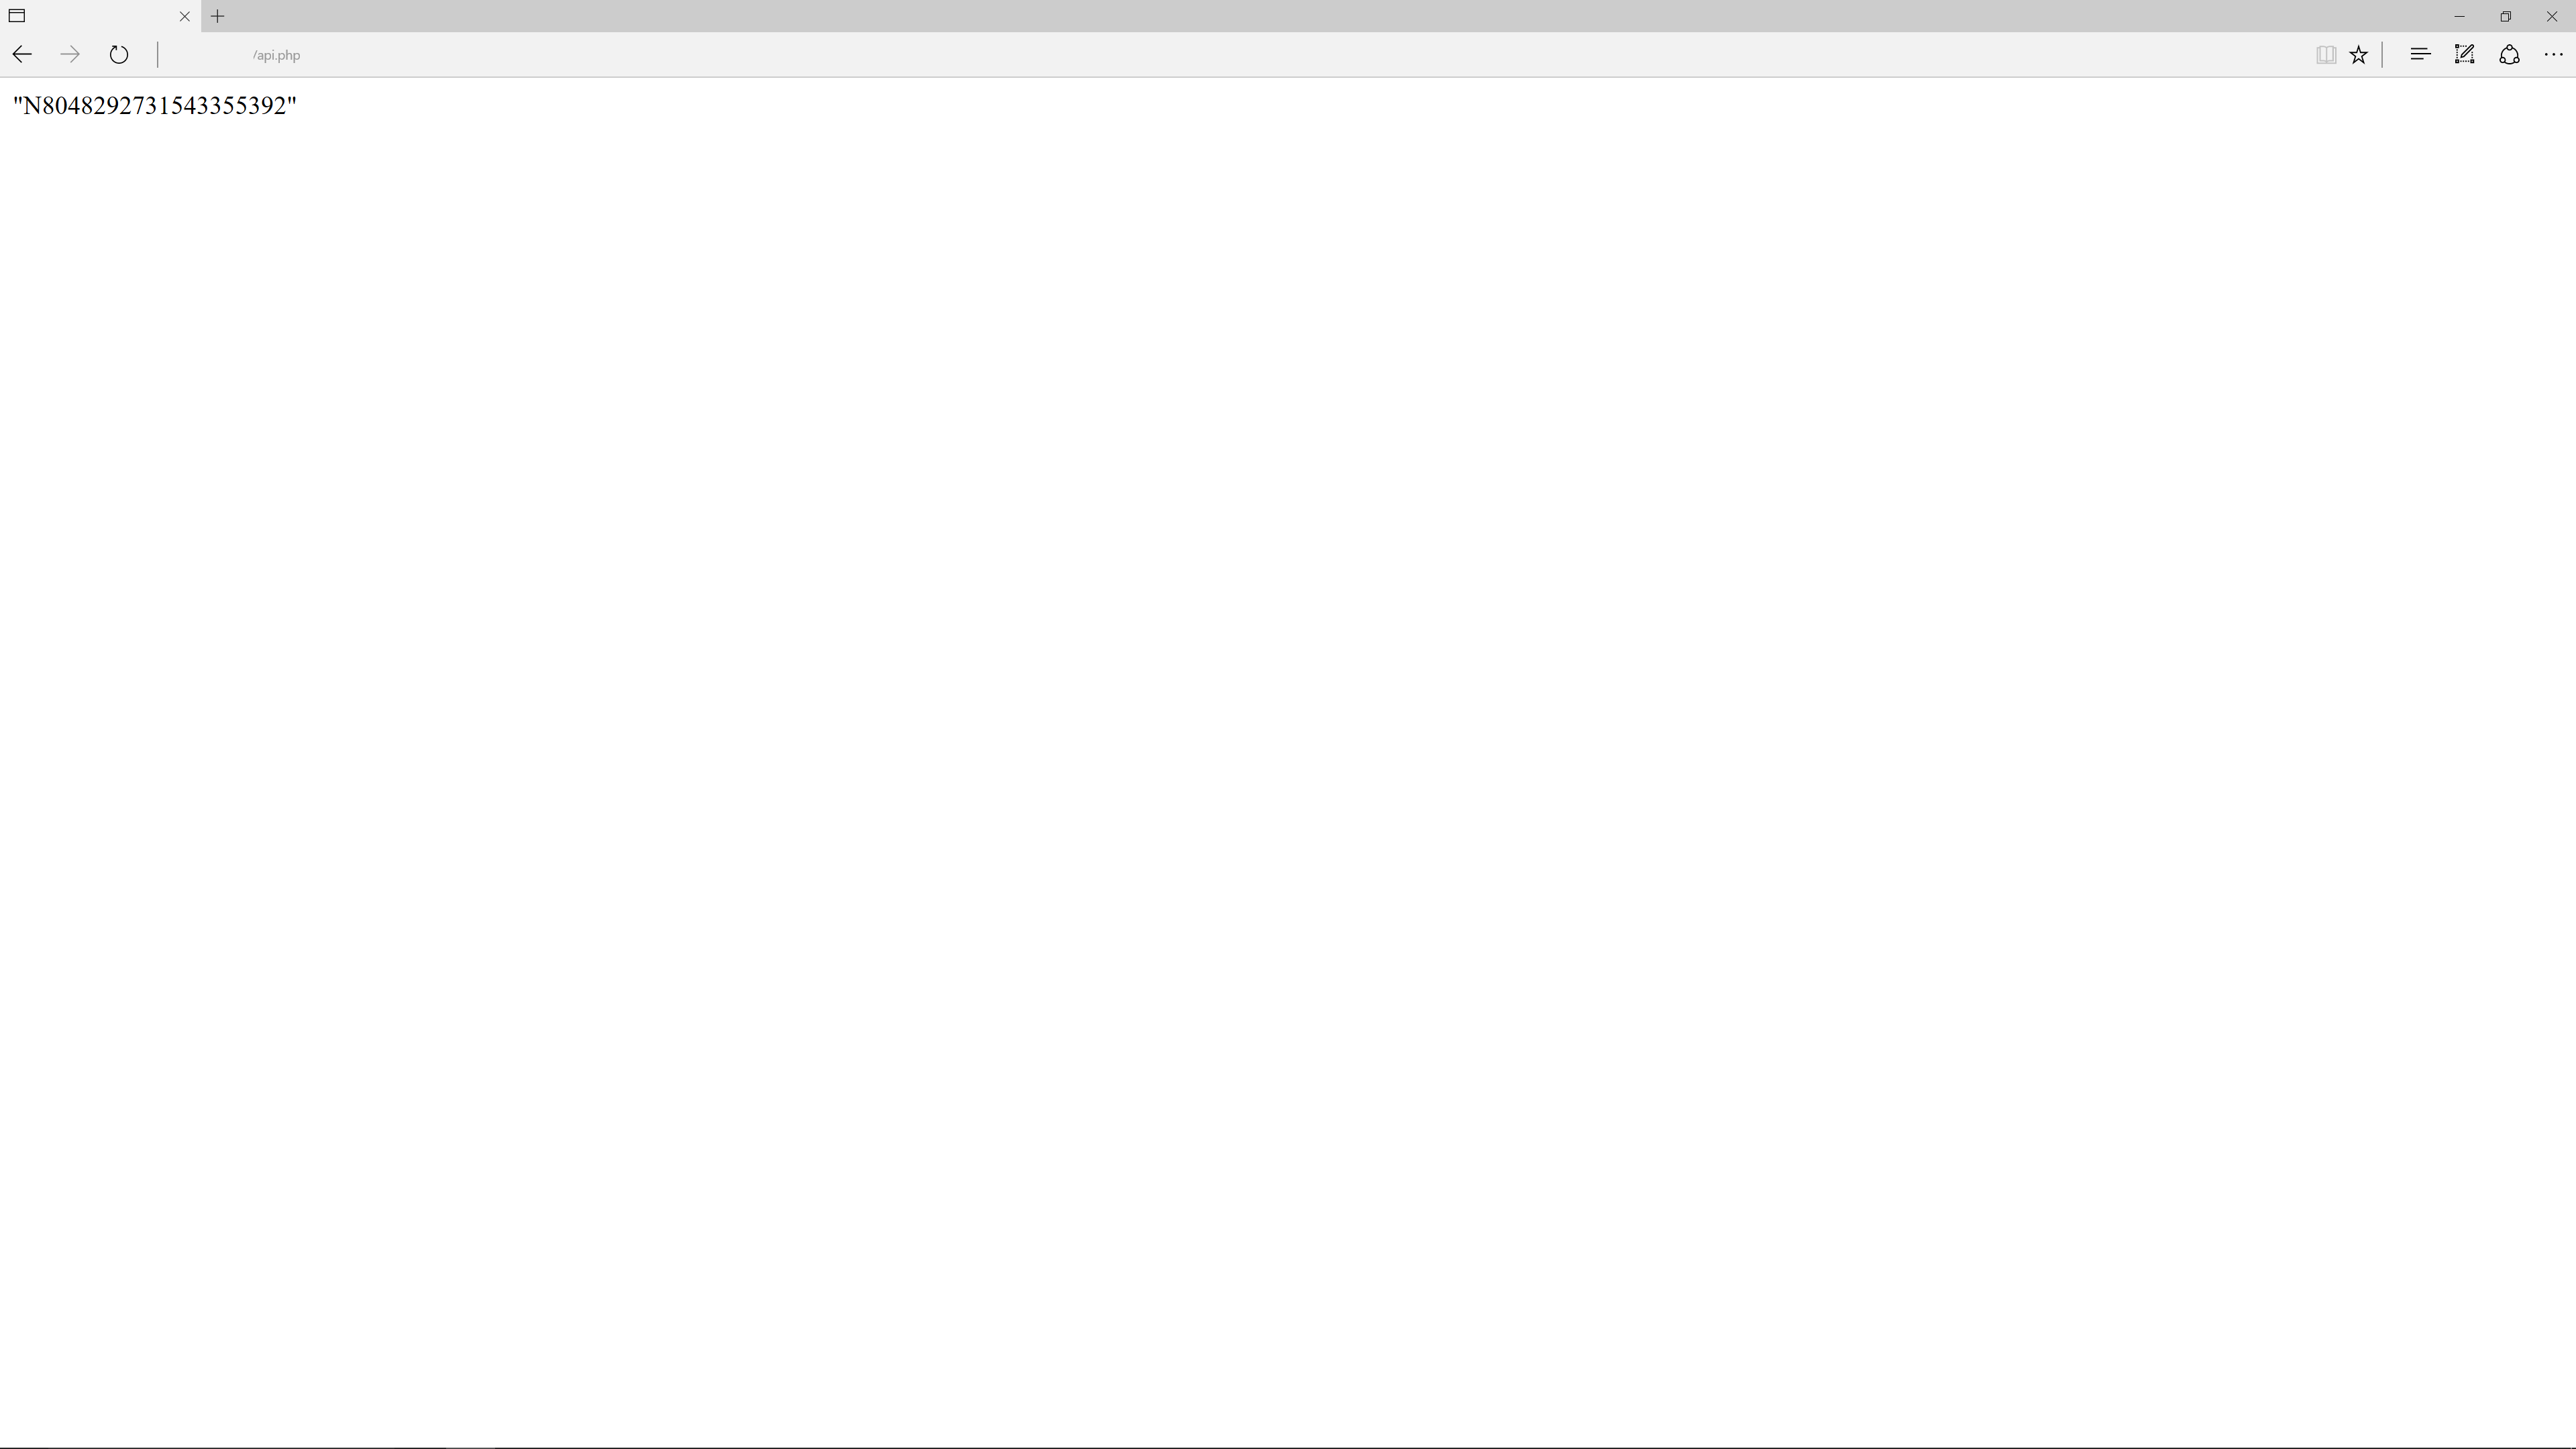
We’ve only tested a simple implementation. With this simple API server up and running you can test all the possibilities and develop client-server Android applications. To mention only a few functions that you can test, sort, select, delete, and add data to your database. Another aspect to consider is security. You should install at last this authentification add-on for your new API, otherwise, you can be potentially exposed to external attackers. Security is anyway a really sensitive topic that I leave to experts. You can find here below a gallery containing the screenshots of the Auth enforced API with an enabled simple username + password mechanism.